Hello again.
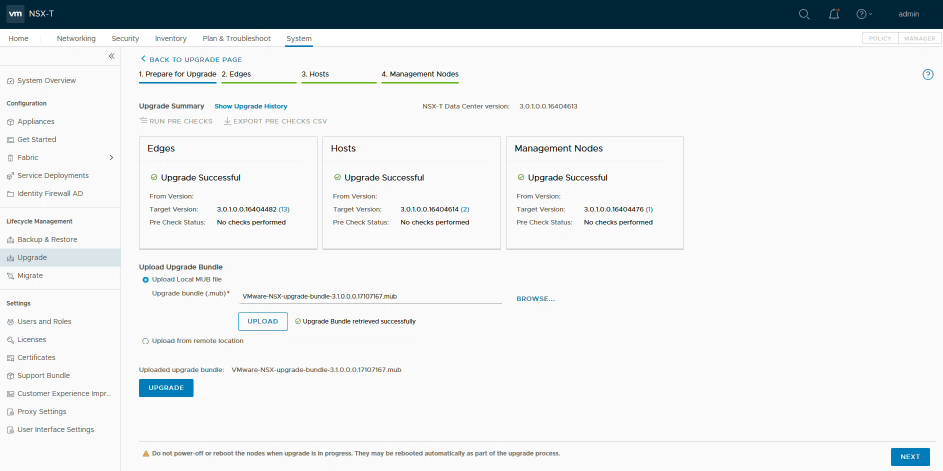
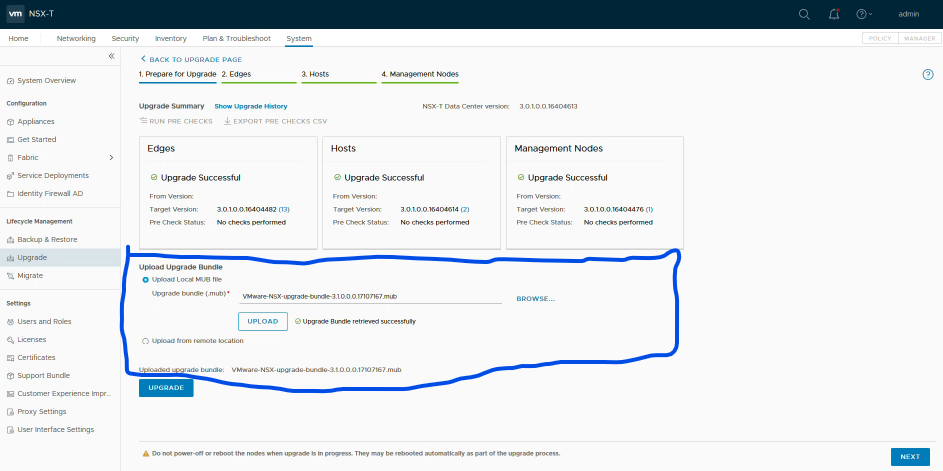
The Upgrade Coordinator will take you through the many steps to get the NSX-T Data Center environment. First thing to do is get the NSX Upgrade Bundle which will take up nearly seven gigs on your hard drive and over your network connection. That used to be a big deal, right?
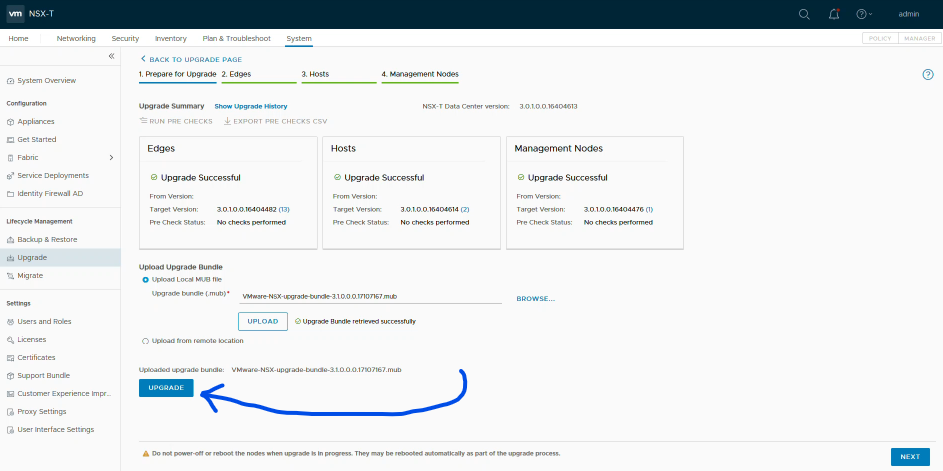
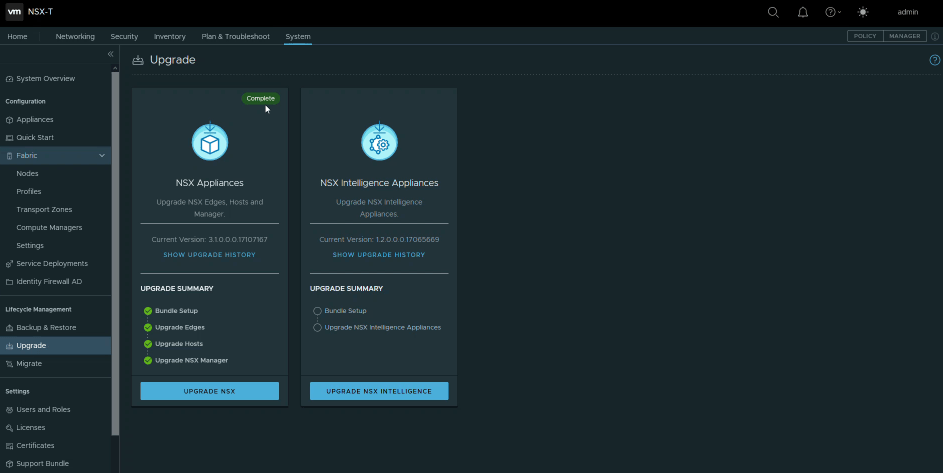
Then we have to Upload the MUB to be used by the Upgrade Coordinator. Once complete, we can click the UPGRADE button to begin the actual upgrade process. EULA follows, scroll to the bottom, reading all the way, and click CONTINUE, the NEXT.
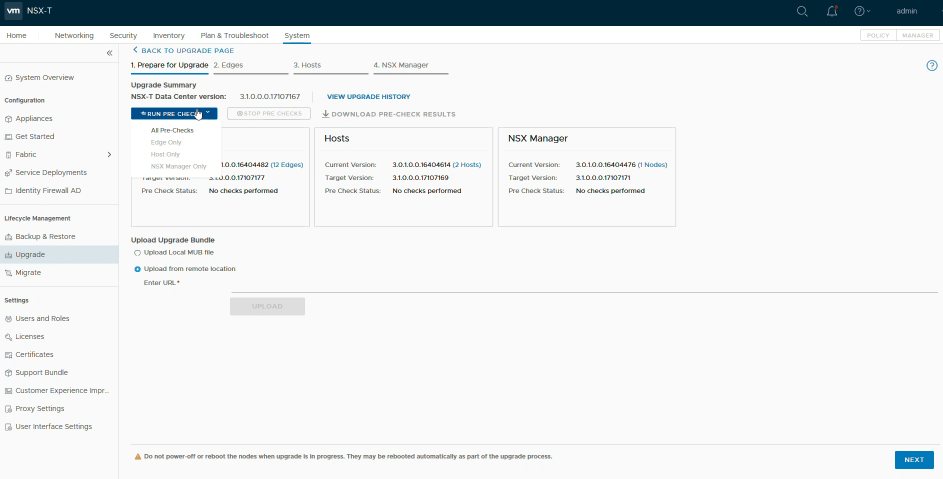
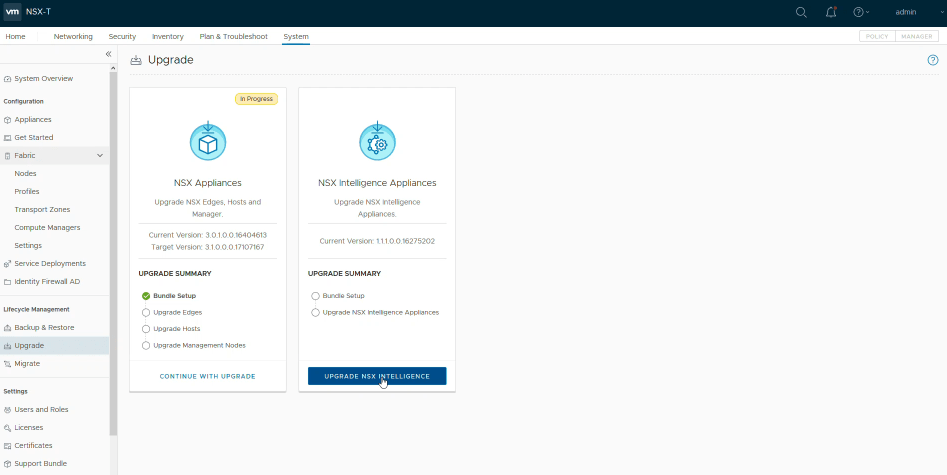
Refresh the browser to see the NSX Appliances Upgrade noted as “In Progress” so we’ll “CONTINUE WITH UPGRADE.” The next page is one of the MOST important steps in running the Upgrade Coordinator:
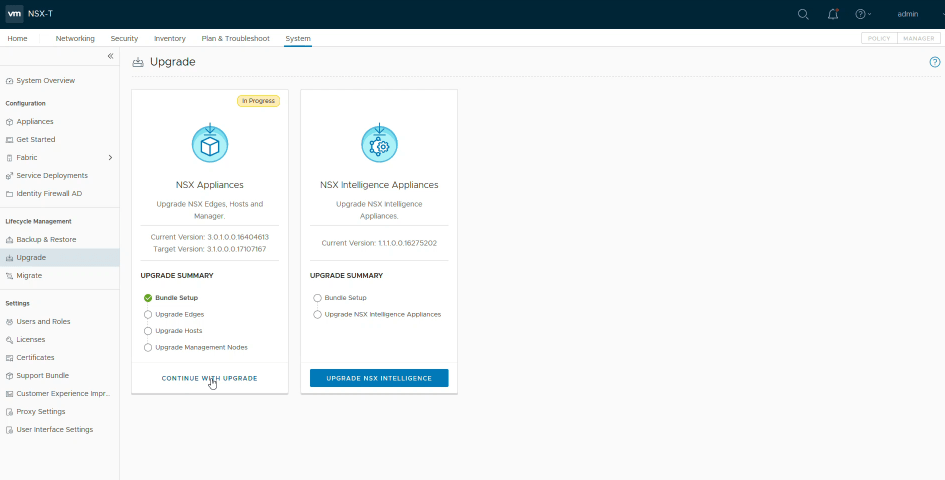
The PRE-CHECKS. Running All Pre-Checks will find issues that could prevent a successful upgrade. Do not skip this step under pain of failure. It is very enlightening. Truly.
Oh yes, if there are NSX Intelligence Appliances within the NSX-T Data Center environment, there is another upgrade bundle necessary to grab and install. Another three GB of data and storage and 60 minutes of upgrading time.

It is recommended that you run a backup of the NSX Management Cluster prior to continuing with the actual Upgrade. Certainly you have a current backup, right?

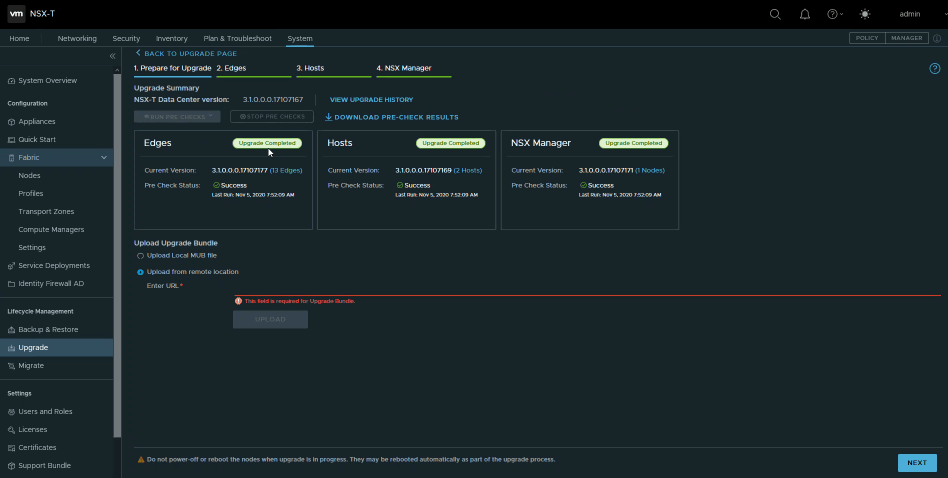
At this point, the upgrade of the NSX-T components can actually, finally begin. The “Edges” represent the first set of objects to be addressed. The upgrade order across groups and within each group is set and then the START button begins and the process runs its course. When each group is at 100%, it is most appropriate to run the “post checks” to ensure the upgrades were successful. Then we can advance to the Hosts by clicking the NEXT button.


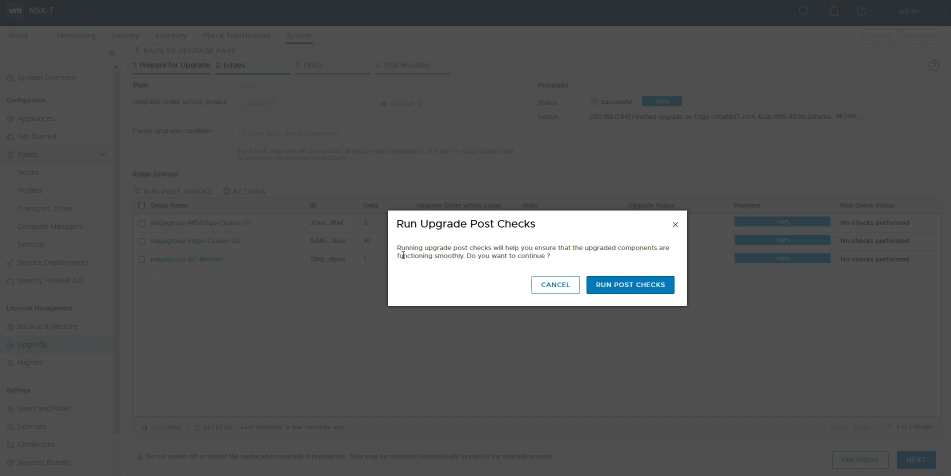
By the way, from personal experience, if you have created Edge Clusters with more than two Edge Nodes, you may wish to eliminate many of the “extra’s” before running your upgrade. In my processing, each Edge Node approached 30 minutes of upgrade time. It may benefit you to add New Edge Nodes post upgrade if the cluster has extras. That is my two cents worth.
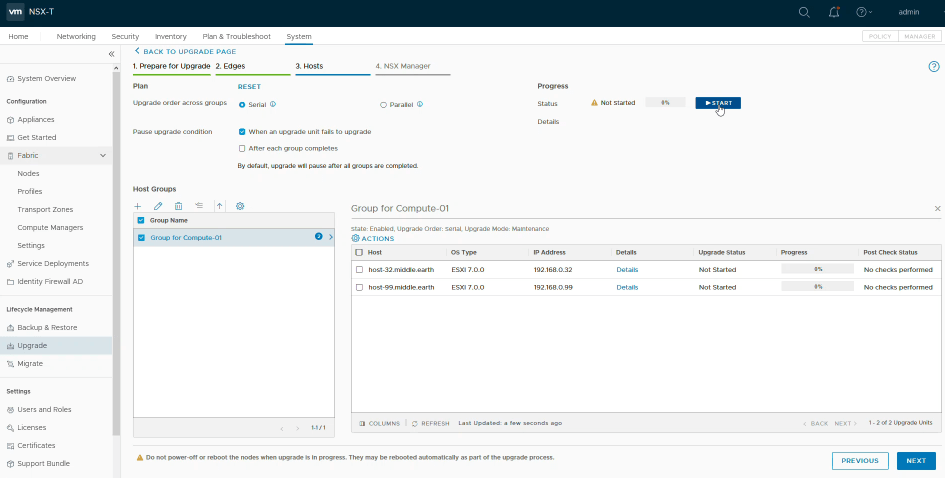
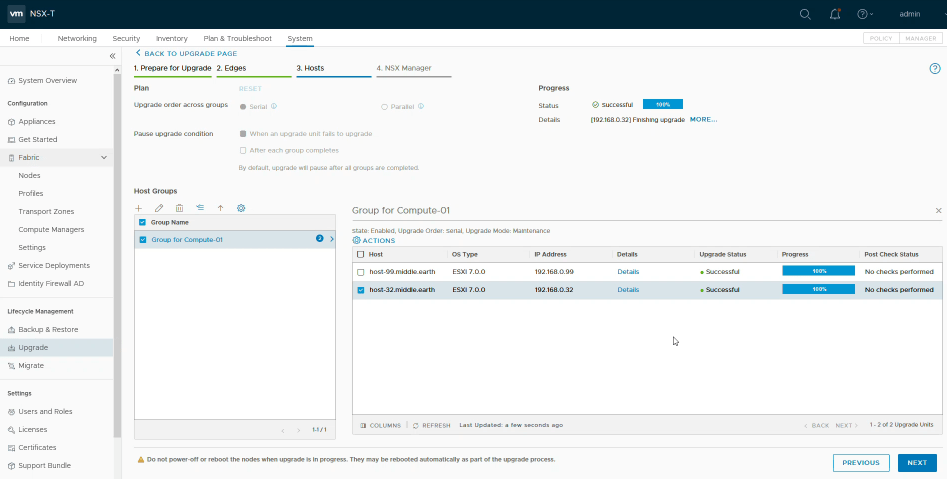
At this point, we are going to upgrade the Transport Nodes (ESXi Hosts) within their clusters to the version desired. Similar to the Edge Nodes, we can choose Serial or Parallel order across the groups. Also, a post upgrade check can be run on the hosts, as well.

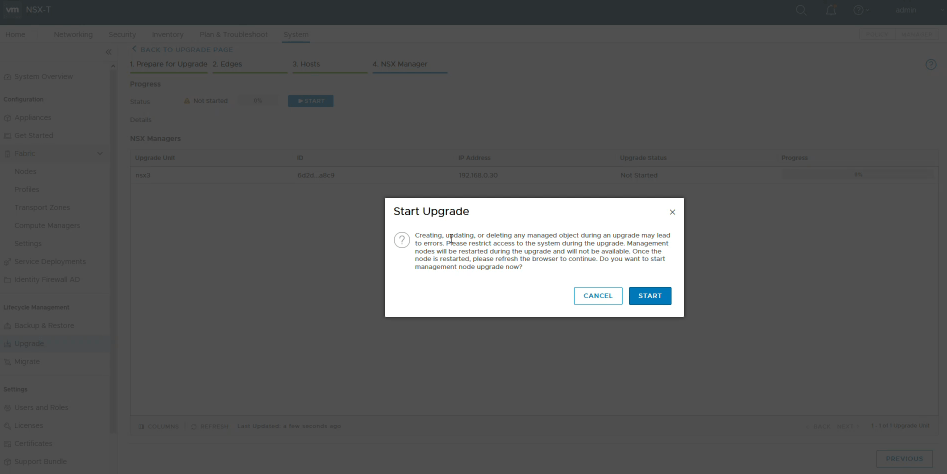
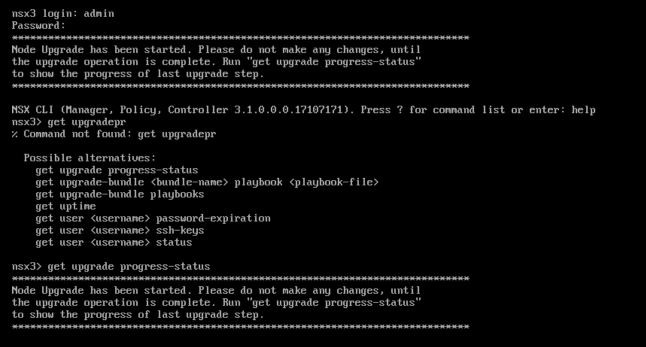
The NEXT will now move to the Manager Nodes. After reading a warning, proceed with the upgrade. The Manager upgrade will cause the node to disconnect and if using the VIP, another Management node will take control of the VIP address and you can follow the progress there. With a single node (PoC or Lab ONLY), the disconnect time will probably last nearly 30 minutes. It is also possible to track the progress of the upgrade through the CLI of the Manager, as seen below.


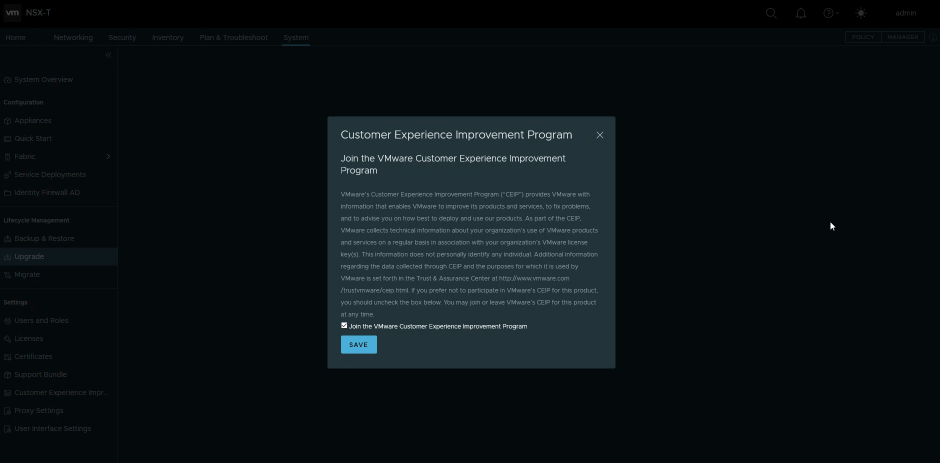
Once reconnected, viola, the newest version of NSX-T Data Center is installed. The default of NSX-T 3.1 UI is the dark mode. One more step is needed. We have to restart the install-upgrade service through the CLI.
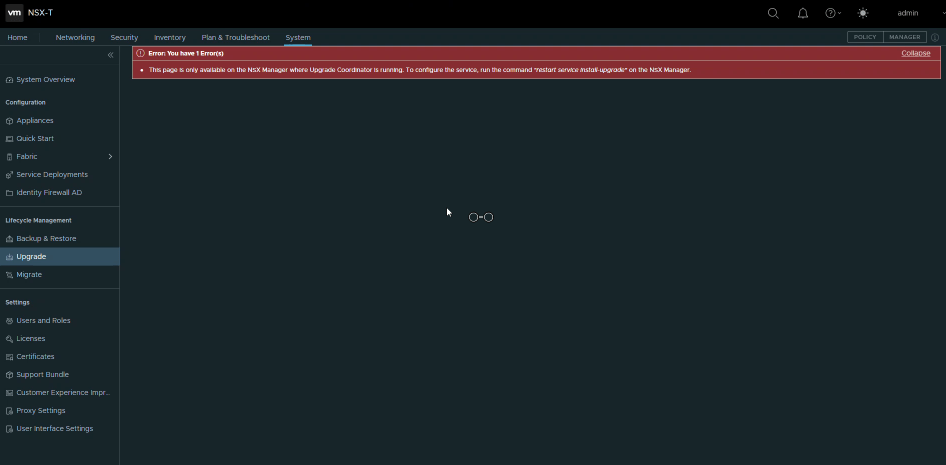

Sweet. Finish.
I hope this has been helpful. Please take your time and be sure to run all the PRE-CHECKS and POST-CHECKS to ensure a successful upgrade of NSX-T Data Center to version 3.1 (and beyond?)
In case you are interested in upgrading to the latest version of VMware’s virtual networking and security platform, NSX-T Data Center 3.1, I have posted a video on my YouTube Channel (https://www.youtube.com/c/vgandalf) detailing the process of using the wizarding process called the Upgrade Coordinator. Check that out for more details.
